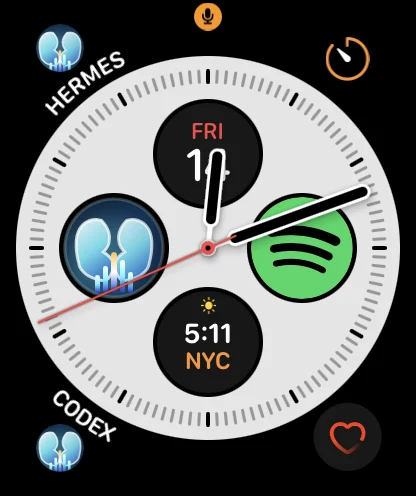
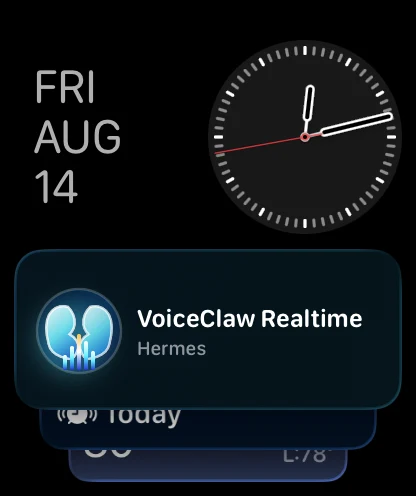
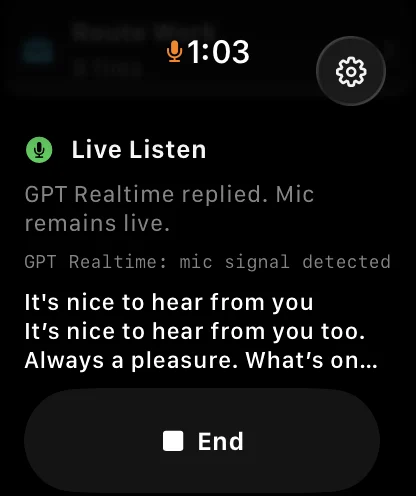
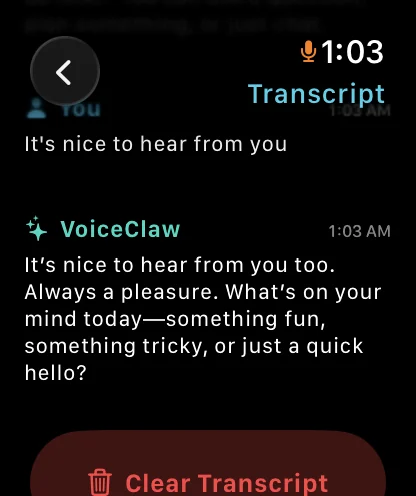
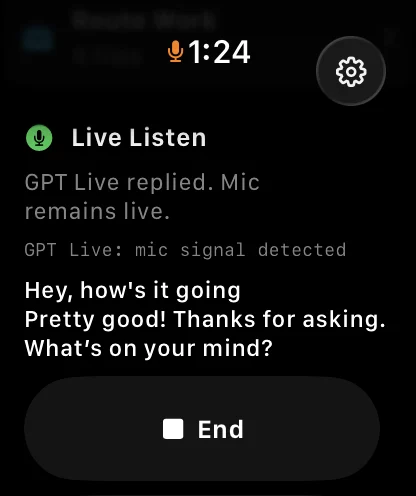
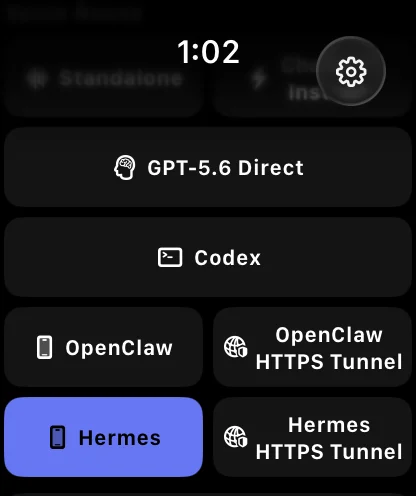
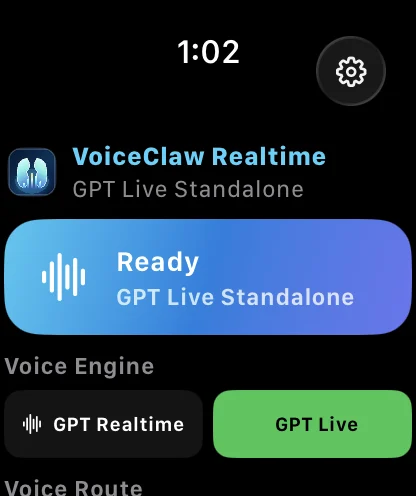
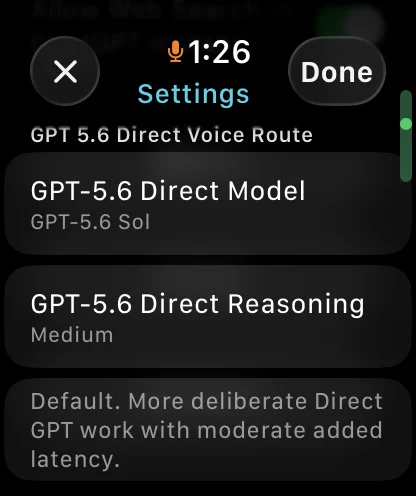
Take your agents with you.

Give Apple Watch a direct HTTPS route to VoiceClaw Realtime Companion when your paired iPhone is not nearby. Cloudflare Tunnel carries an outbound-only connection from your Mac to a dedicated hostname you control.

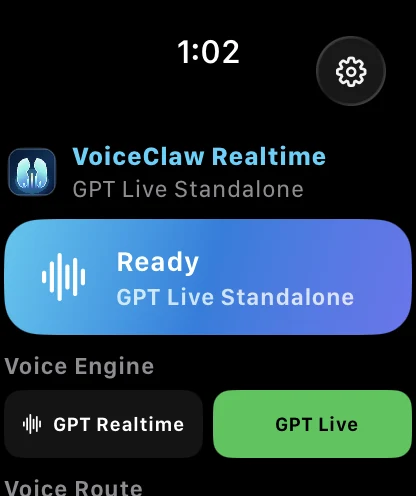
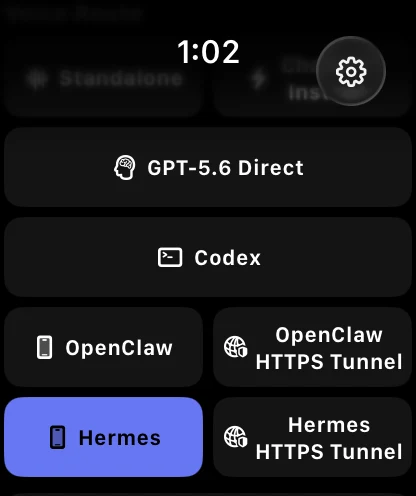
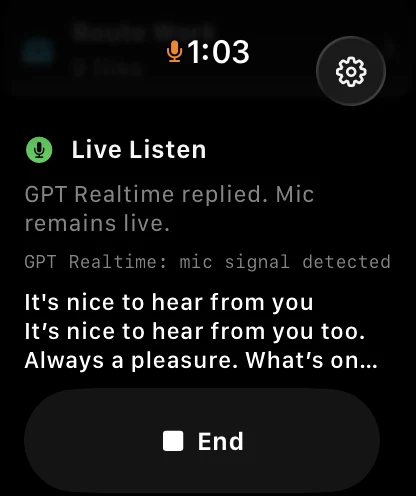
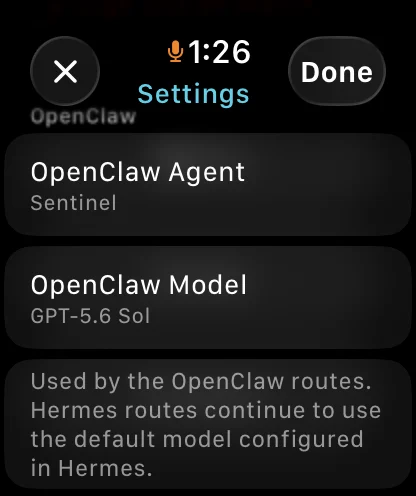
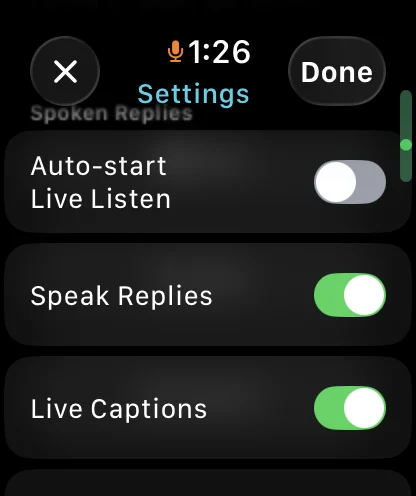
VoiceClaw Realtime running on Apple Watch with direct voice and route controls

Private setup. Direct Watch access.

Apple Watch cannot use the iPhone's Tailscale bridge when the phone is away. This path gives the Watch its own HTTPS route while Companion continues to authenticate every request.

Apple WatchWi-Fi or cellular
Your HTTPS hostnameCloudflare Tunnel
Your Maccloudflared
CompanionCodex, OpenClaw, Hermes

Prepare the Mac, domain, and Watch.

The setup is easiest when the local Companion bridge is already healthy before the public hostname is added.

Mac

A recent macOS Mac that stays powered on, awake, online, and signed in while you use remote routes.

Companion

VoiceClaw Realtime Companion installed, with Install and Start complete and its local runtime ready.

Domain

A domain you own, a Cloudflare account, and permission to manage its DNS and install a macOS service.

Devices

VoiceClaw Realtime on the paired iPhone and Apple Watch, plus Wi-Fi or cellular connectivity on the Watch.

From local bridge to your wrist.

Use a dedicated subdomain such as watch.example.com. Replace that example everywhere below with your own hostname.

Let Cloudflare manage the domain's DNS

If the domain is registered with Cloudflare, continue to step 2.

If it was bought elsewhere, including Squarespace, add the domain to Cloudflare using a full DNS setup. Review imported website, mail, MX, and TXT records before changing nameservers. Disable DNSSEC at the registrar before the nameserver change, wait for Cloudflare to show the zone as Active, then enable DNSSEC again in Cloudflare.

Confirm Companion is ready on your Mac

Open Companion, complete Install and Start, and confirm that the runtime is ready. The default local bridge listens on 127.0.0.1:12321.

curl -fsS http://127.0.0.1:12321/healthz

The response should contain {"ok":true}. If you changed the Companion port, use that port in this test and in step 6.

Install cloudflared

Install Cloudflare's tunnel connector with Homebrew, then verify the command is available. If you do not use Homebrew, use Cloudflare's direct macOS download for your Mac's architecture.

brew install cloudflared
cloudflared --version

Create a dedicated tunnel

In the Cloudflare dashboard, open Networking > Tunnels, choose Create Tunnel, select the cloudflared connector, and name it something recognizable such as voiceclaw-watch. Select macOS and the architecture that matches your Mac.

Install the tunnel as a macOS service

Run the exact service-install command shown by Cloudflare. It resembles the command below. The token is private: do not paste it into VoiceClaw, documentation, screenshots, or support messages.

sudo cloudflared service install <TUNNEL_TOKEN>

Wait for the connector to show Healthy. The service lets the tunnel return automatically after the Mac restarts.

Publish the Companion bridge

In the tunnel, add a Published application route. Set the public hostname to your dedicated subdomain, such as watch.example.com, and set the service URL to:

http://127.0.0.1:12321

The public side is HTTPS; the loopback connection from cloudflared to Companion remains local HTTP.

Verify the public HTTPS endpoint

Test the hostname from Terminal. A healthy response contains {"ok":true}. You can also run this check from an iPhone on cellular to confirm the path works outside your home network.

curl -fsS https://watch.example.com/healthz

Add the HTTPS origin to Companion

Open Companion > Pair Phone. In Non-Tailscale HTTPS Bridge, enter only the origin, for example https://watch.example.com. Do not add /healthz, another path, or the local port.

Keep Include Bridge Credentials in Setup QR enabled and confirm that the displayed QR code refreshes with the HTTPS origin.

Re-pair iPhone and sync Apple Watch

On iPhone, open VoiceClaw Realtime > Settings > Account > Quick Setup > Scan QR and scan the current Companion code. Then open Settings > General > Watch and press Sync Apple Watch Settings. Keep the Watch nearby and open once so the updated URL and bridge credentials arrive.

Test away from iPhone

Leave the iPhone behind or turn it off, confirm the Watch has Wi-Fi or cellular service, then select OpenClaw HTTPS Tunnel or Hermes HTTPS Tunnel. Start with a harmless request and confirm that its task state appears on the Watch.

Read the failure by layer.

Tunnel disconnected

Confirm the Mac is awake and online, then confirm the cloudflared service and tunnel connector are running.

HTTP 502

Cloudflare can see the tunnel, but cloudflared cannot reach Companion. Check Install and Start, the local port, and the /healthz test.

HTTP 404

Check that the requested hostname exactly matches the Published application route on the correct tunnel.

iPhone works, Watch does not

Re-scan the current QR, confirm bridge credentials are included, sync Apple Watch settings again, and open the Watch app nearby once.

Keep the route deliberate.

No router port is opened. cloudflared makes an outbound connection from your Mac. Companion still requires the bridge credentials carried by the private setup QR.

Keep the setup payload private. Treat the tunnel token, QR code, setup JSON, and bridge credentials as secrets. Rotate and re-pair if they are exposed.

Do not add an interactive Cloudflare Access login page. The current Watch bridge cannot complete a browser challenge or supply separate Access service-token headers.

Verify both endpoints. A local health check isolates Companion readiness; the HTTPS health check isolates tunnel and DNS readiness.

Install Companion, then build the route.

The dedicated Watch hostname belongs in Companion only after the local bridge and public health checks both pass.

Open Companion setup